
A bergere is a type of hat that was very popular during the 18th century, mostly mid-century. Typically it is a straw hat with a very shallow crown and wide brim, most often decorated with ribbons and flowers. The word bergere means shepherdess in french, and the fashion for dressing up as a shepherdess or inspired by was also very popular during the 18th century.
Here you have a couple famous examples of bergere hats...
"Madame Bergeret holding a bergere hat" Painted by Francois Boucher, c 1766
"Eleanor Frances Dixie", Painted by Henry Pickering, c 1753
Looking around the internet, there are actually alot of tutorials on how to turn an ordinary, modern straw hat into a bergere, and it is a fairly simple and straightforward process, but I thought I'd give my take anyway...
First, of course, you need a hat. A plain, woven straw hat is preferable to a sewn one, but either will do.
The "lace" part on the crown of this particular hat gives a perfect guide as to where to cut, but otherwise depending on the depth of the crown and how big the hat is on, you want to cut about a half inch to one inch up from the brim and cut away maybe an inch to an inch and a half off the crown. You want to leave enough of the crown that after reshaping it will fit over and cover the opening in the middle of the brim...
For this particular hat, I left about 5/8" on the brim and cut off 1 1/2" off the crown.
Wet the hat quite thoroughly and flatten the inner brim, weighing it down. The crown also needs to be flat topped, so I wet it and stretched it over a large coffee can, weighing down the top and securing it with an elastic. Leave to dry overnight.
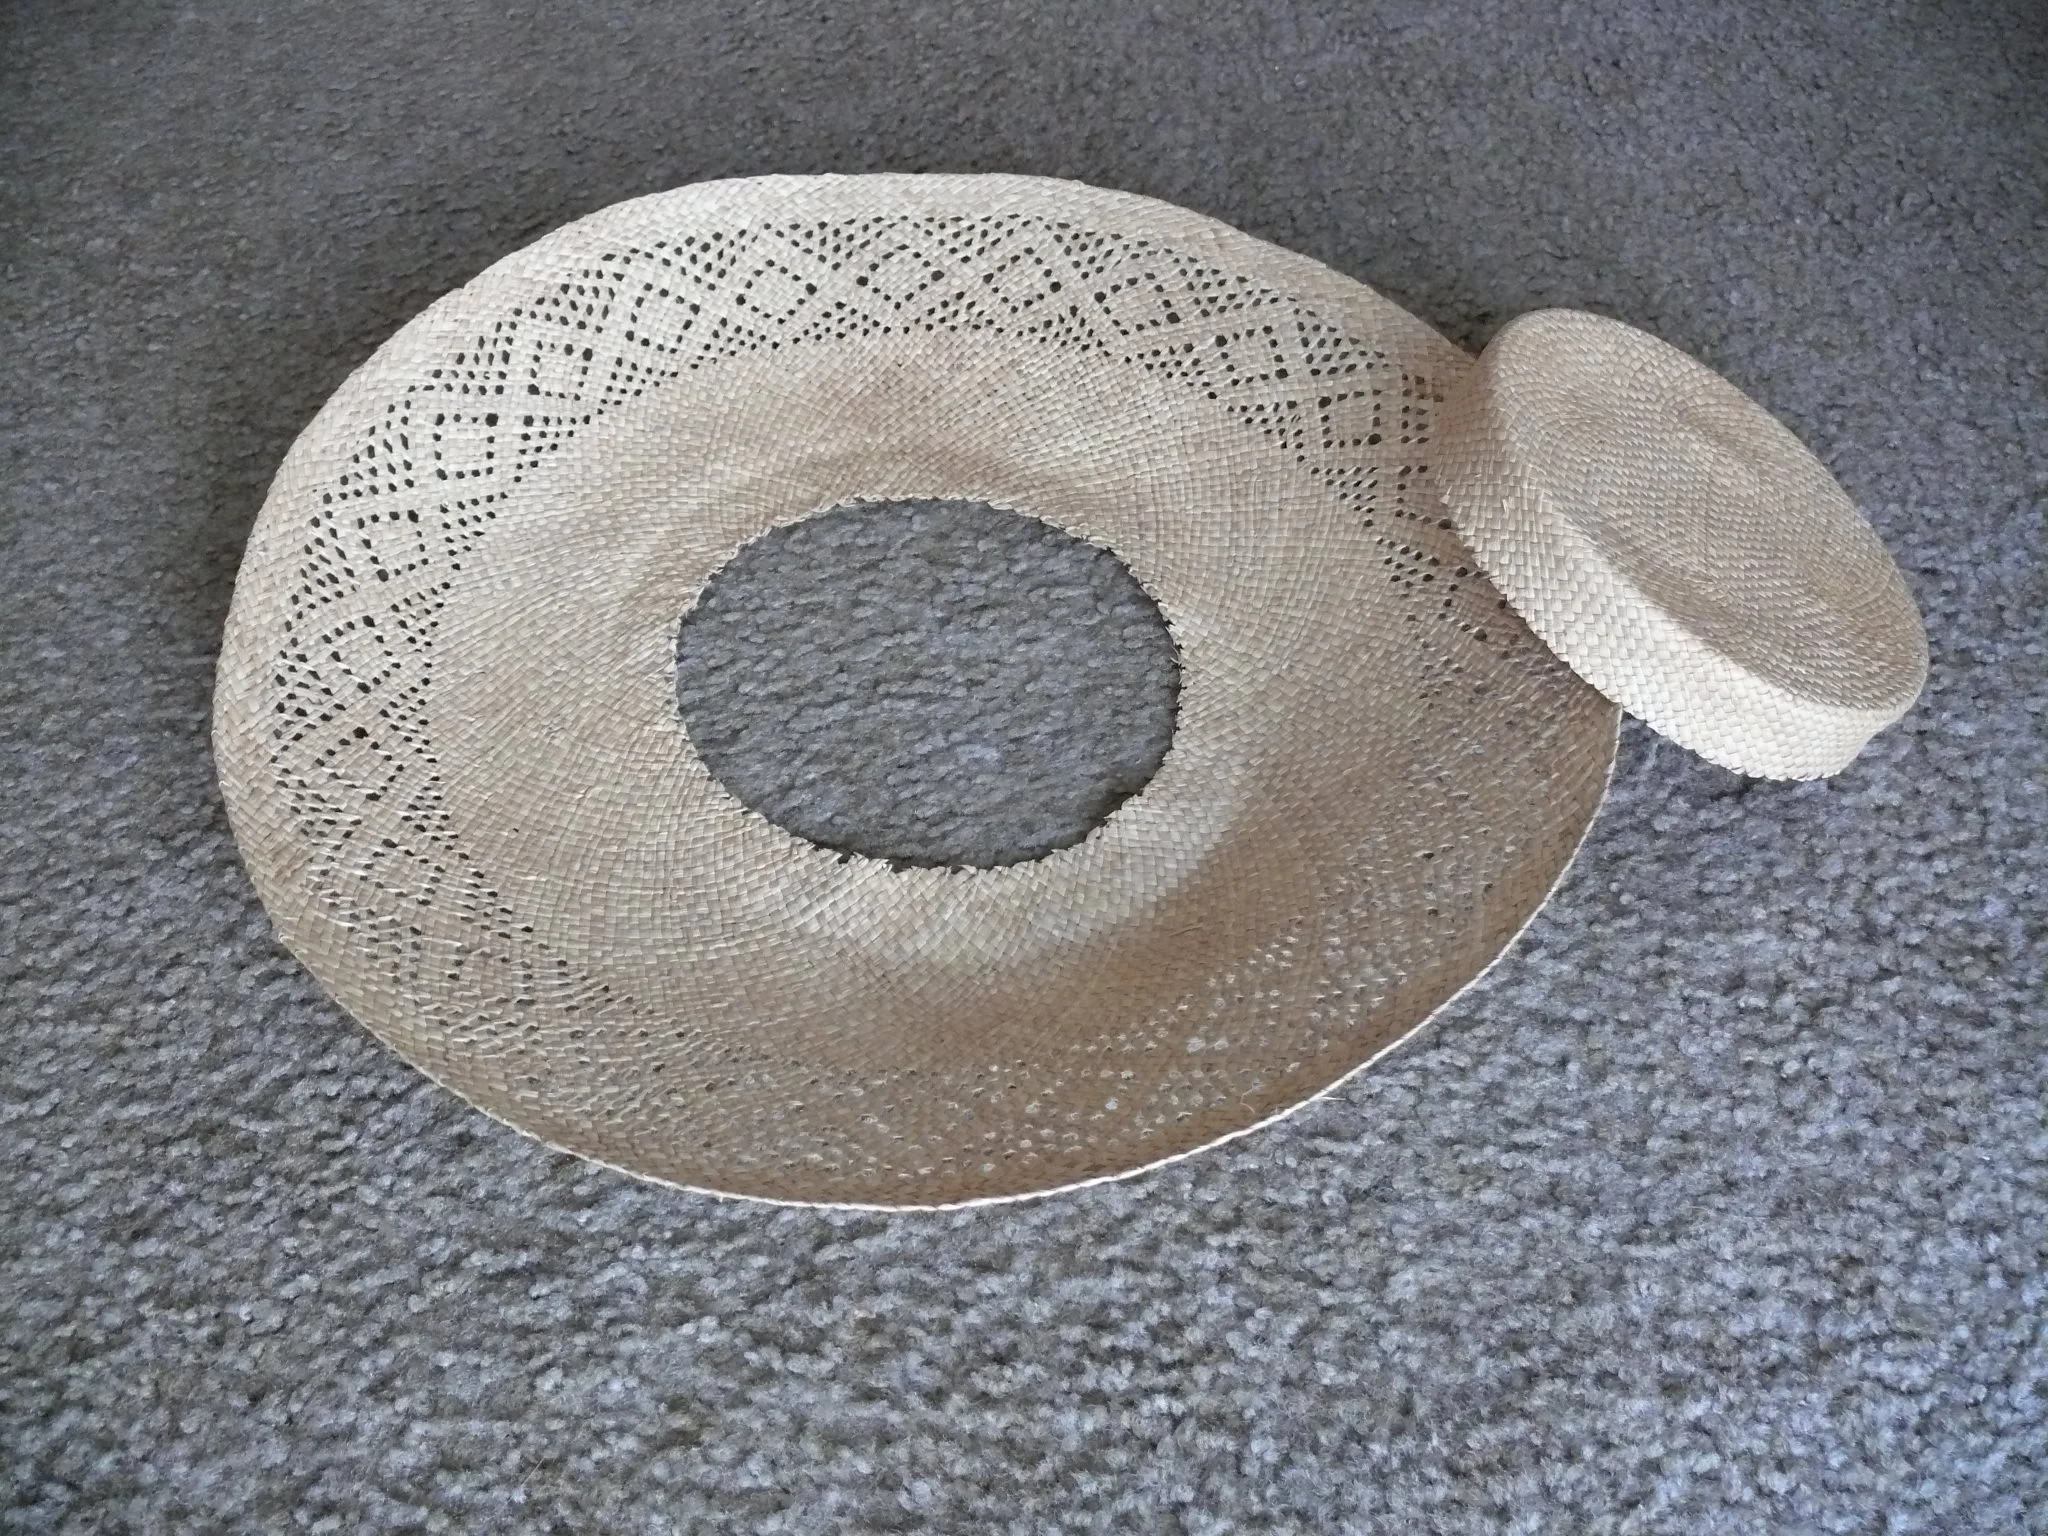
The result....The crown ended up with a 6 1/4" diameter and a 1" depth.
Next, I chose to cover the raw inside edge of the brim with wide bias tape so it wouldn't scratch or unravel....Then, bust out the hot glue gun and attach crown to brim.
You can either hot glue the bias tape on or sew it...I chose to hand sew, and I'm not going to lie, it required pliers to get it done...
All that's left is to attach a ribbon on the underside, to tie the hat on, and decorate the top side with your choice of decorations to hide the glue...
I hand sewed the ribbon to the bias tape on the inside.
I chose to keep the decorations quite simple, with just a pleated ribbon around the crown and a little bow in the back, which you can either hand sew or glue on. I ended up sewing the decorations on.
And lastly, here are a couple images of my mom wearing her hat during our recent re-enactment event, Fab Forts, out at Fort Rodd Hill...
And if all this just seems like far too much effort and you can't be bothered, or if, like me, you run out of time pre-event to make yourself a hat, then there is always the option of getting a round placemat from Walmart (here in Canada, they go for just under $3 ), and they come in a variety of colours...
Sew on a bit of wide ribbon in a circle to simulate a low crown ( I sewing it down at regular intervals to make puffs - and added a pearl bead for some extra pretty)...
Sew on a length of ribbon to the underside so it will stay on your head...
I sewed the ribbon to about the same diameter as the ribbon puffs on the topside, so the hat wouldn't curve down too much when worn.
And boldly wear it to your next re-enactment or costumed event.
And just for good measure, here are both hats together.
To see all the photos from the Fab Forts event, click here.